   _____                             _  _   _        _        ___   ____
  |_   _| _   _  _ __   _ __    ___ | || \ | |  ___ | |_     / _ \ / ___|
    | |  | | | || '_ \ | '_ \  / _ \| ||  \| | / _ \| __|   | | | |\___ \
    | |  | |_| || | | || | | ||  __/| || |\  ||  __/| |_    | |_| | ___) |
    |_|   \__,_||_| |_||_| |_| \___||_||_| \_| \___| \__|    \___/ |____/
A router OS that puts your network on the public internet, from our own network (AS396500).
Install it from a USB stick on a 64-bit PC with two network ports. Coming soon: connect it to your TunnelNet account with a one-time code, and your site gets its own public IPv4 address from our block that stays the same on whatever internet line you have.
What it does
Live today, and coming soon
Every item is labelled. Live means it works in the 0.2.3 download today. Coming soon means we are building or testing it; it is not part of what you get today.
Installs on a 64-bit PC with two network ports
Write the installer to a USB stick, start the PC from it and pick a disk.
Finds its own drivers and firmware
On first start it checks every network port, fetches any missing firmware, and shows you, port by port, what it found.
Security updates every night
Security updates install themselves every night. The router never restarts by itself. Run tnet update to update now.
SSH on out of the box
Log in with ssh root@<your box> and the password you chose when installing. More than 5 sign-in attempts a minute from one address block that address for an hour (your own network behind the box is never blocked). Turn it off with tnet ssh off.
Updates itself from our signed update server
TunnelNet OS updates, signed by us, from our own update server.
Connects to your account with a one-time code
Add a site in the portal, copy the setup code, and type it into the router's setup page. Works today on our own sites; TunnelNet OS sites open to customers in the portal soon.
A public IPv4 address from our own block
Your site gets its own address from 23.187.152.0/24. It stays the same when your internet line changes. Works today on our own sites; TunnelNet OS sites open to customers in the portal soon.
Open ports to devices behind it
Open a port in the portal and the router applies it, so people can reach your server at your address. Works today on our own sites; TunnelNet OS sites open to customers in the portal soon.
Your internet traffic goes out from your TunnelNet address
Today your network's internet traffic goes out your own line; your TunnelNet address is for reaching you.
Resilience mode: two internet lines as one
Use two internet lines at once, so your address keeps working when one of them drops.
Ask TunnelNet
Ask questions about your network in plain words, from the router or the portal.
Also works with UniFi
Already have a UniFi gateway? The same TunnelNet Business site will work with it. It runs on our own network today and is not open to customers yet.
Download
TunnelNet OS 0.2.3
One file: write it to a USB stick and start the PC from it. Check the file before you use it.
The installer
- File
- tunnelnet-0.2.3-amd64.iso
- Size
- 349 MB (348,899,328 bytes)
- For
- 64-bit PCs (x86_64)
- Checksum file
- tunnelnet-0.2.3-amd64.iso.sha256
- Signature
- tunnelnet-0.2.3-amd64.iso.sig
- Our key
- tunnelnet-os-release-key.asc
SHA-256 checksum:
7deb936113ee83983fc59fb191416521fe760f502917ee0e374199eb17fabff5
Served over HTTPS.
Check the download
The command prints a checksum. It must match the one on this page exactly.
shasum -a 256 tunnelnet-0.2.3-amd64.iso
Linuxsha256sum tunnelnet-0.2.3-amd64.iso
Windows (PowerShell)Get-FileHash .\tunnelnet-0.2.3-amd64.iso -Algorithm SHA256
Windows (Command Prompt)certutil -hashfile tunnelnet-0.2.3-amd64.iso SHA256
Check the signature (Linux; Mac with GPG Suite or brew install gnupg; Windows with Gpg4win)gpg --import tunnelnet-os-release-key.asc
gpg --verify tunnelnet-0.2.3-amd64.iso.sig tunnelnet-0.2.3-amd64.isoKey fingerprint: FF59 B679 01B4 9F5E 273C 19C3 C08C 2A07 751E BBD0
Install
Five steps
About fifteen minutes. You need the PC, a USB stick of 8 GB or more, two network cables and your TunnelNet portal login.
Write the installer to a USB stick
Open balenaEtcher (free, for Mac, Windows and Linux), choose
tunnelnet-0.2.3-amd64.iso, choose the USB stick, and press Flash.On Linux you can also use
dd.Start the PC from the USB stick
Plug one cable into your internet modem and one into your switch or computer. Start the PC and pick the USB stick in its boot menu (often F12, F11 or F8).
Choose Install TunnelNet OS. It starts by itself after a few seconds.
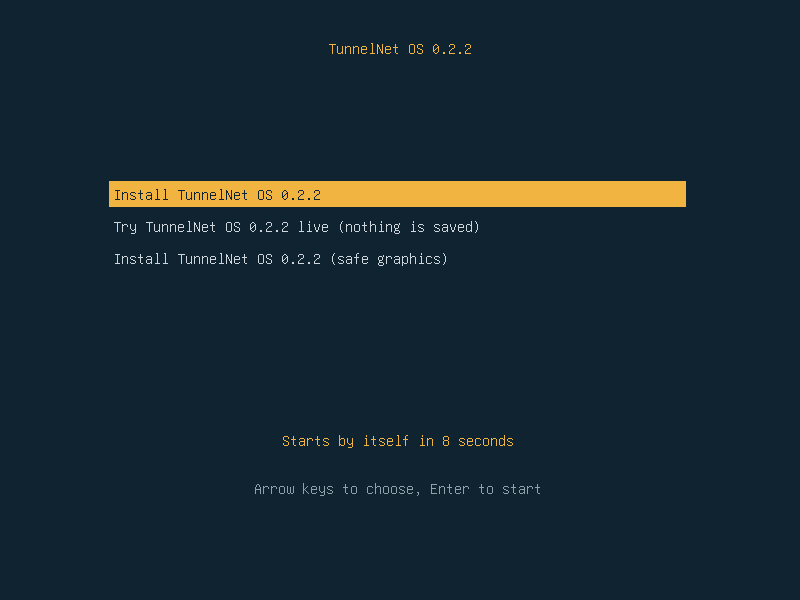
The start menu. Install starts by itself after a few seconds. Pick the disk and type its name to confirm
The installer lists every disk with its size and model. Pick by size and model, type the name, then type it again. Everything on that disk is erased.
Set a password. It is also your SSH login (root). Remove the stick and restart.
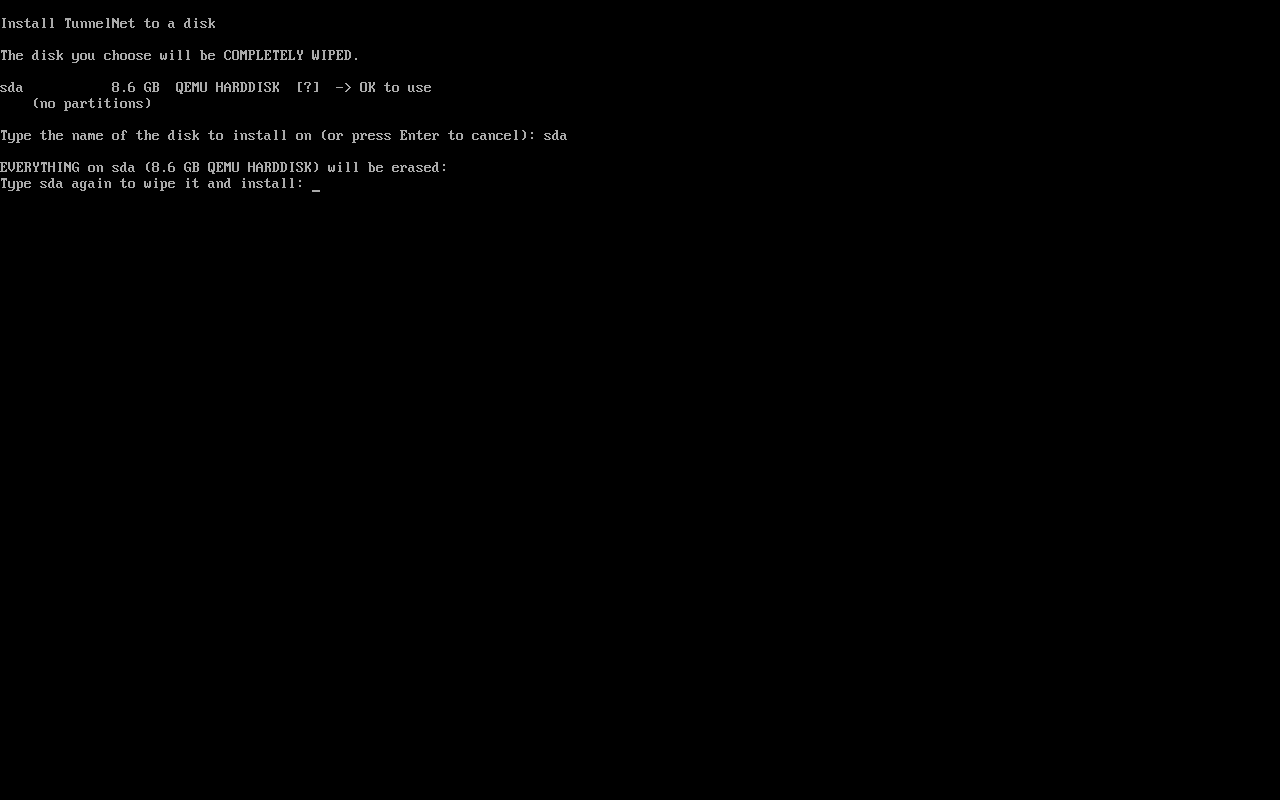
Each disk with its size and model. Type the name, then type it again. Open
http://192.168.60.1On a computer plugged into the router's second port, open
http://192.168.60.1. After the restart the router's own screen shows this address too.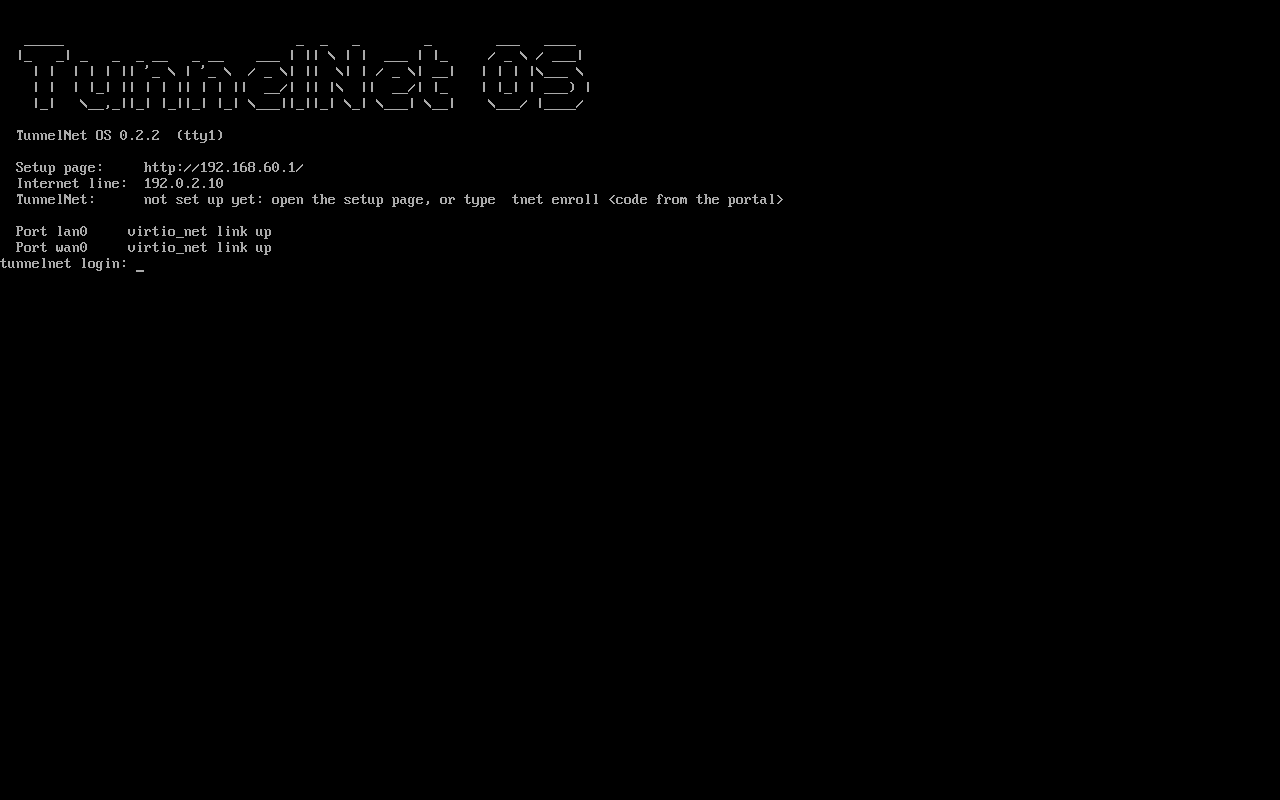
After the restart: the setup page address, the internet line and each port. Enter your portal code
Coming soon TunnelNet OS sites open to customers in the portal soon.
In the TunnelNet portal, open your site, choose Router setup and copy the one-time code. Paste it into the setup page and press Set up.
Your site's public address appears in the portal and at the top of the setup page. On the router's own screen,
tnet statusshows it too:TunnelNet OS 0.2.3 TunnelNet address: 203.0.113.25 internet line wan0: 192.0.2.10 account: connected to your account agent: running tunnel: up security updates: nightly ssh: on (root with your password); password guessing blocks an address for an hour port lan0 firmware OK port wan0 firmware OK
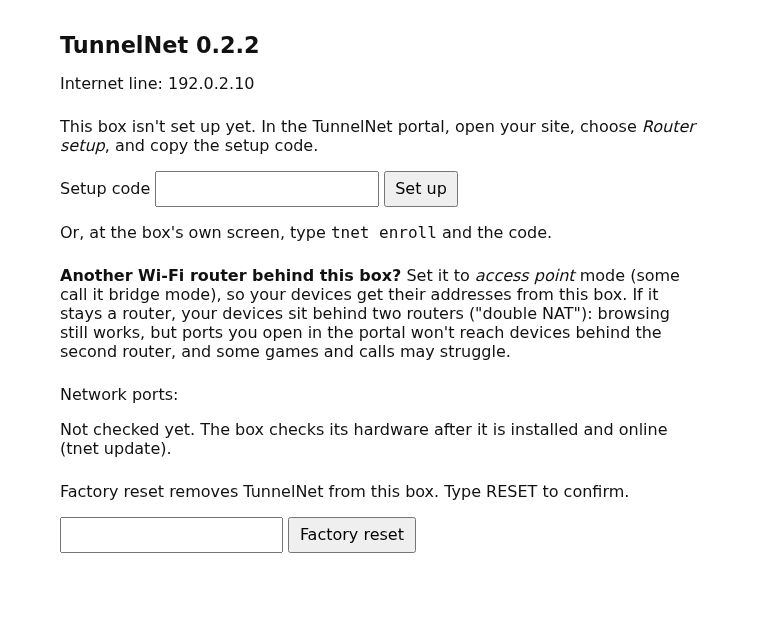
The setup page: paste the code and press Set up. 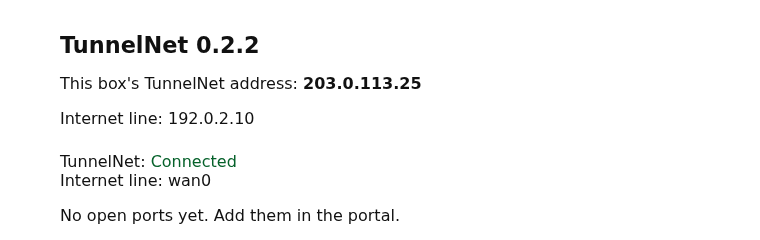
Done: the setup page shows your TunnelNet address.
Screens from TunnelNet OS 0.2.2 on a test machine; 0.2.3 looks the same apart from the version number. The addresses shown are examples.
Requirements
What you need
- A 64-bit PC (x86_64).
- Two or more network ports: one for your internet line, one for your network.
- Memory: 1 GB at least, 2 GB recommended.
- A disk of 8 GB at least (16 GB recommended) that can be wiped. Everything on it is erased.
- A USB stick of 8 GB or more.
- A TunnelNet Business site for the public address.
Tested on
Hardware we have run it on
- A desktop PC, installed to its disk: Realtek RTL8125 2.5 Gb card (TX201), Intel 2.5 Gb port (igc), MediaTek MT7921 Wi-Fi card
- Proxmox virtual machines (virtio network ports)
If a network card needs firmware, TunnelNet OS fetches it on first start and tells you what it found.
Pricing
The OS is free. The address is the service.
TunnelNet OS
$0
Download, install and update it at no cost.
TunnelNet Business Coming soon
$49 per site, per month
- Your site's own public IPv4 address from our block
- 1 TB of data a month
- Open ports from the portal
- The TunnelNet portal, and support by email
TunnelNet OS sites are not in the portal yet. Questions: support@tunnelnet.com
The network
Run by a network operator
TunnelNet is run by MinakiLabs LLC. The addresses come from our own block, which ARIN allocated to us directly, and we announce it from our own network number. Both are in public records.